Installation
pergola is a Python package that works either as a command line tool or a library. Pergola installation involves its
compilation from the downloaded source code via GitHub, installing a stable release via
PyPI or to pull the last Docker image. We strongly recommend this last option (Pergola docker image) since it
provides a ready-to-use, portable version of pergola.
Tip
If you don’t feel like to install pergola you can always use our web server to
access main pergola functionalities in a user-friendly interface.
Installation from Github
In this section you will find the details of how to download pergola source code via
Github and how to compile it. Prerequisites that pergola require installed in
your system are also listed in this section.
In this section you will find the details of how to download Pergola source code from Github and how to compile it. Prerequisites that Pergola requires installed in your system are also listed in this section.
Warning
Pergola requires python >= 2.6 as well as several dependencies that are listed below.
Note
At the moment the installation has been tested only under Ubuntu-linux and MacOS.
Required Python libraries
Pergola requires some Python libraries installed in your system, to install them you can use pip:
$ pip install numpy argparse biopy-isatab scipy pandas pybedtools
Warning
You might need to install first pip if your python version is not 2.7.9 or later
Warning
Under Ubuntu you might need to install python-dev in order to be able to install packages belonging
to the SciPy Stack such as numpy and scipy using pip. Alternatively you can also use:
sudo apt-get install python-numpy python-scipy.
Download and installation
Download Pergola tarball from github, unpack and install it:
$ curl -L  http://github.com/cbcrg/pergola/archive/master.zip -o "pergola.zip"
$ unzip pergola.zip
$ cd pergola-master
$ sudo python setup.py install
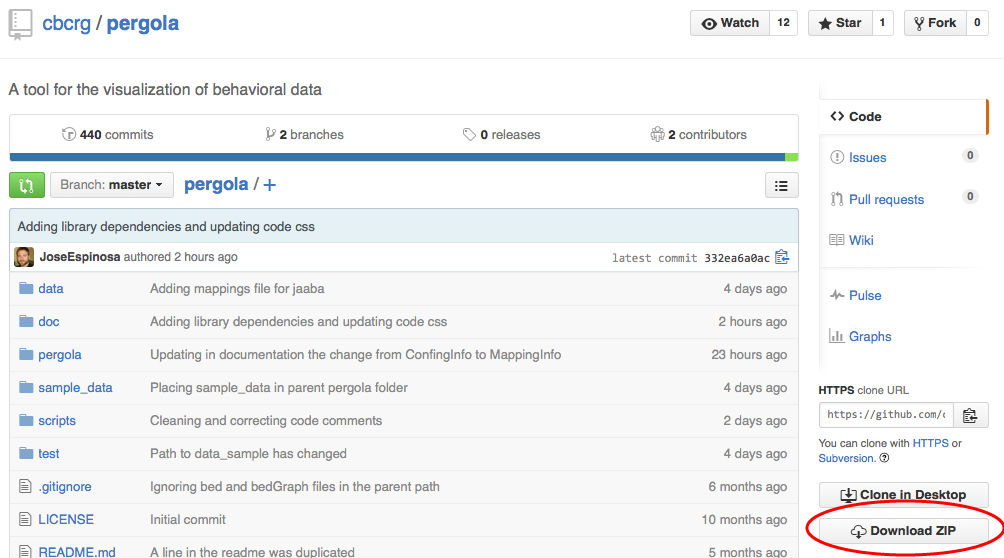
or, you can download the code as a .zip file from Github website and follow the three last instructions above.
Development versions
The source code of pergola can be found in GitHub pergola repository. There you
will find the last development version. If you want to modify, contribute or just run the last version of the code just
clone the repository:
git clone https://github.com/cbcrg/pergola.git
Testing installation
Finally, if you want to check that your installation completed successfully, move to test directory and run as in the example:
$ cd pergola/test
$ python test_all.py
Installation via PyPI
pergola can be installed using pip following the instructions described here.
Stable pergola releases are available on PyPI.
In this section you will find the details of how to download Pergola source code
from Github and how to compile it. Prerequisites that Pergola require installed in
your system are also listed in this section.
Pergola requires python >= 2.6 as well as several dependencies that are listed below.
Note
At the moment the installation has been tested only under Ubuntu-linux and MacOS.
Required Python libraries
Pergola requires the following Python libraries installed in your system:
$ pip install numpy argparse biopy-isatab scipy pandas pybedtools xlrd
Warning
You might need to install first pip if your python version is not 2.7.9 or later
Warning
Under Ubuntu you might need to install python-dev in order to be able to install packages belonging
to the SciPy Stack such as numpy and scipy using pip. Alternatively you can also use:
sudo apt-get install python-numpy python-scipy.
Install latest release using pip
Use this command to install last released pergola version:
$ pip install pergola
Testing installation
To check whether pergola has been correctly installed you can call pergola main script help option
$ pergola -h
Pergola Docker image
Docker allows to sandbox an application with all the requirements it needs to run
(operating system, software, libraries and dependencies) in a container.
Besides avoiding the tedious process of installing all dependencies,
the use of pergola docker images provides the extra benefit of guarantee
the reproducibility of your results. Regardless your operating system
and the software installed in your machine, you can always run your computation
under the same environment and the same version of Pergola using the image tag.
Released images are available at pergola Docker Hub repository.
Docker allows to sandbox an application with all the requirements it needs to run (operating system, software, libraries and dependencies) in a container. Besides avoiding the tedious process of installing all dependencies, the use of Pergola docker images provides the extra benefit of guarantee the reproducibility of your results. Regardless your operating system and the software installed in your machine, you can always run your computation under the same environment and the same version of Pergola using the tag of the image.
Docker installation
Docker can be easily installed following the official documentation on linux, Mac OS X and Windows.
Pull Pergola image
Docker images are tagged and thus at any time you will be able to retrieve the exactly same version of the Pergola using the tag corresponding to the version. You can pull the latest Pergola image from Docker Hub:
docker pull pergola/pergola:latest
Note
All Pergola images are available on Pergola Docker Hub repository
Pergola Docker execution example
You can run Pergola on a container created from the downloaded image interatively with the following command:
docker run -ti pergola/pergola bash
You can also mount your files in the container as shown below:
docker run --rm -it -v /local_path_to_files:/container_path -w /container_path pergola/pergola bash
For a more complete example go to the tutorial section.
Tip
Installation may require admin rights in some cases. In case you don’t have them, it might be a good idea to work under a virtual environment. Virtual environments allow you to recreate an isolated environment with all its dependencies without admin rights. You can use several tools to create Python environments as for instance this one.